Photographing Christmas lights: phone night mode, camera settings and bokeh
Festive lights look best in the short spell after sunset, when the sky still holds some colour. In December that spell arrives before most people have left work.
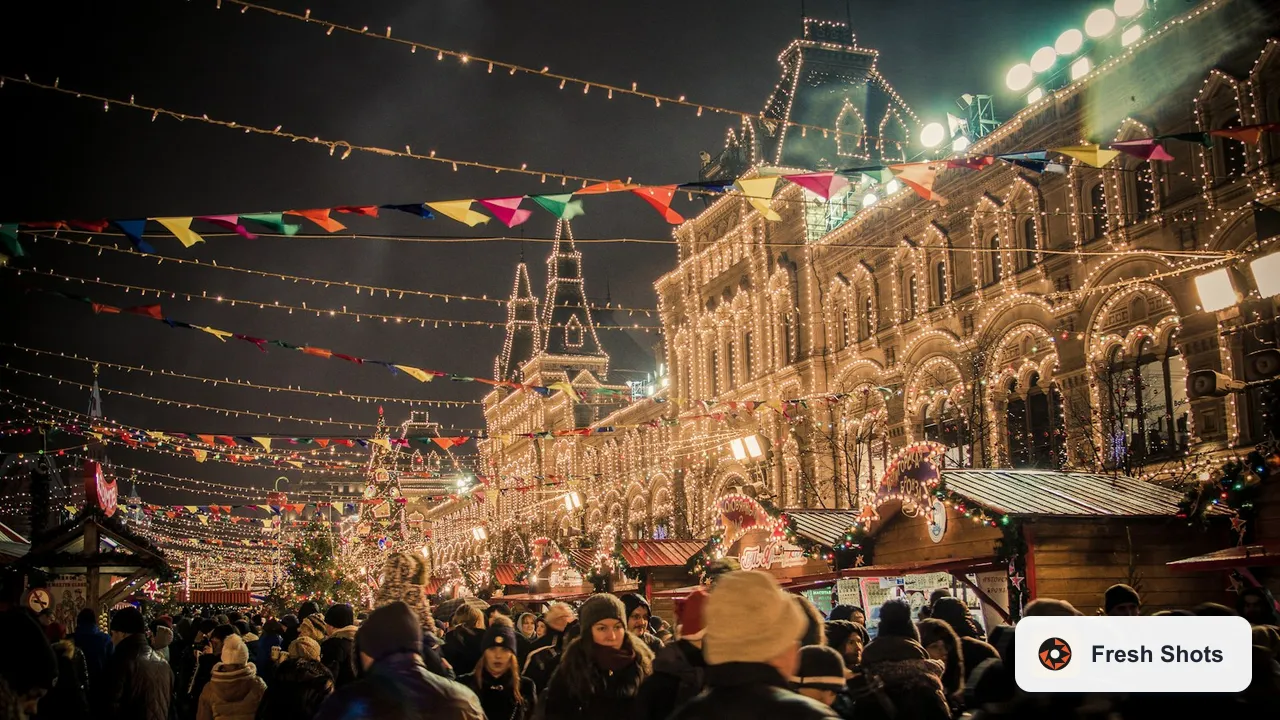
The best Christmas lights photographs are usually taken in the half hour after sunset, not in full darkness. At that point the sky is a deep blue rather than black, the lights are on, and your camera or phone can record detail in both. Steady the camera, switch off the flash and keep the exposure slightly darker than the screen suggests, and most displays will look the way you remember them.
Timing: earlier than you think
December days are short. The Royal Observatory Greenwich notes that the winter solstice falls on 21 December 2026, when daylight in London lasts 7 hours 49 minutes and 42 seconds. That means the useful blue window for town-centre lights arrives in mid to late afternoon. Check the sunset time for your area and aim to be in place a little before it, so you are set up when the street lights and decorations come on.
As TechRadar's guide to photographing light displays points out, the hint of light left in the sky at dusk adds depth that a black sky cannot. That does not mean later is useless. Once it is fully dark, close-ups of decorations, shop windows and lit-up trees can look rich, because the darkness hides clutter.
Keeping the picture sharp
Low light means slow shutter speeds, and slow shutter speeds show every wobble. You have a few options:
- A small tripod or a beanbag on a wall or bench.
- Leaning against a lamppost or doorway and breathing out as you press the shutter.
- Using the two-second timer so your finger is off the button when the picture is taken.
- Raising the ISO on a camera so you can use a faster shutter speed handheld.
Busy streets are not great places for full-size tripods. Be considerate, keep legs out of walkways, and expect to move if staff or security ask you to.
Phone settings that help
Most phones switch into a night mode automatically when the scene is dark. That is useful for wide street views, but it can overcook bright lights into white blobs. Tap on the brightest part of the display and drag the exposure slider down a touch until the bulbs show their colour. Then hold still until the capture finishes.
Turn the flash off. TechRadar puts it bluntly: flash washes out the colours and lights up the wires and supports you would rather hide. If your phone has a choice of lenses, the standard main camera is almost always better than the ultra-wide in low light. Our list of smartphone photo tips covers locking focus and exposure, which helps when the lights flicker or people walk across the frame.
Camera settings for street displays
On a camera with manual or aperture-priority mode, a reasonable starting point for a street scene on a tripod is ISO 100 to 400, f/8, and whatever shutter speed gives a balanced frame, often between half a second and a few seconds. Small apertures such as f/11 or f/16 turn point light sources into starbursts, which can look festive on single bright lamps and fussy on hundreds of tiny bulbs.
Handheld, open the aperture as wide as it goes, raise the ISO until you reach a shutter speed you can hold, and accept some grain. A slightly noisy sharp picture beats a clean blurred one.
White balance changes the mood more than any other setting. Auto often tries to neutralise warm bulbs into something cold. Set daylight for a warm, nostalgic look, or tungsten if the scene is dominated by old-style yellow lights and you want them closer to white.
Making soft circles of light
Bokeh is the photographer's word for the blur in the out-of-focus areas, and Christmas lights make the classic example. You need three things: a subject close to you, lights well behind it, and the widest aperture your lens allows. A portrait on a doorstep with the lit street ten metres behind, a bauble on a branch with the tree lights beyond it, or a mug held near the camera in front of a window display all work.
Phones can imitate this with portrait mode, but the effect around fine edges such as hair or tinsel can look odd. A camera with a lens that opens to f/1.8 or f/2 does it optically. If the circles are small, move closer to your subject and further from the lights.
For a craft project, TechRadar suggests a homemade bokeh card: black card cut to fit over the front of the lens with a small shape such as a star or heart cut from the centre. With the lens wide open, the background lights take on that shape. It is a gimmick, but a fun one for a family card.
Lights at home
Indoor trees are harder than they look because the room is dim and the lights are bright. Switch on a lamp or two so the room has some ambient light, then expose for the tree and let the bulbs glow. Turn the main overhead light off, since it flattens everything. If people are in the picture, ask them to sit near a lamp facing the camera and keep still for a moment.
A window display photographed from outside often reflects the street. Get close to the glass, cup a hand or a dark cloth around the lens, and the reflections largely disappear.
Editing, lightly
Lights tempt people into heavy edits. A small lift in shadows, a slight reduction in highlights so bulbs keep their colour, and a crop to remove the half-visible bin at the edge of the frame are usually enough. If you shot at dusk, check the sky has stayed blue rather than drifting to purple. Everything else on the subject of warm evening light is in our piece on shooting the golden hour in Britain, much of which applies to the final minutes before a winter display comes on.