Twelve smartphone photo tips that actually work
Most of the best smartphone photo tricks are free, non-technical and take a moment to learn. These twelve are the ones we come back to.
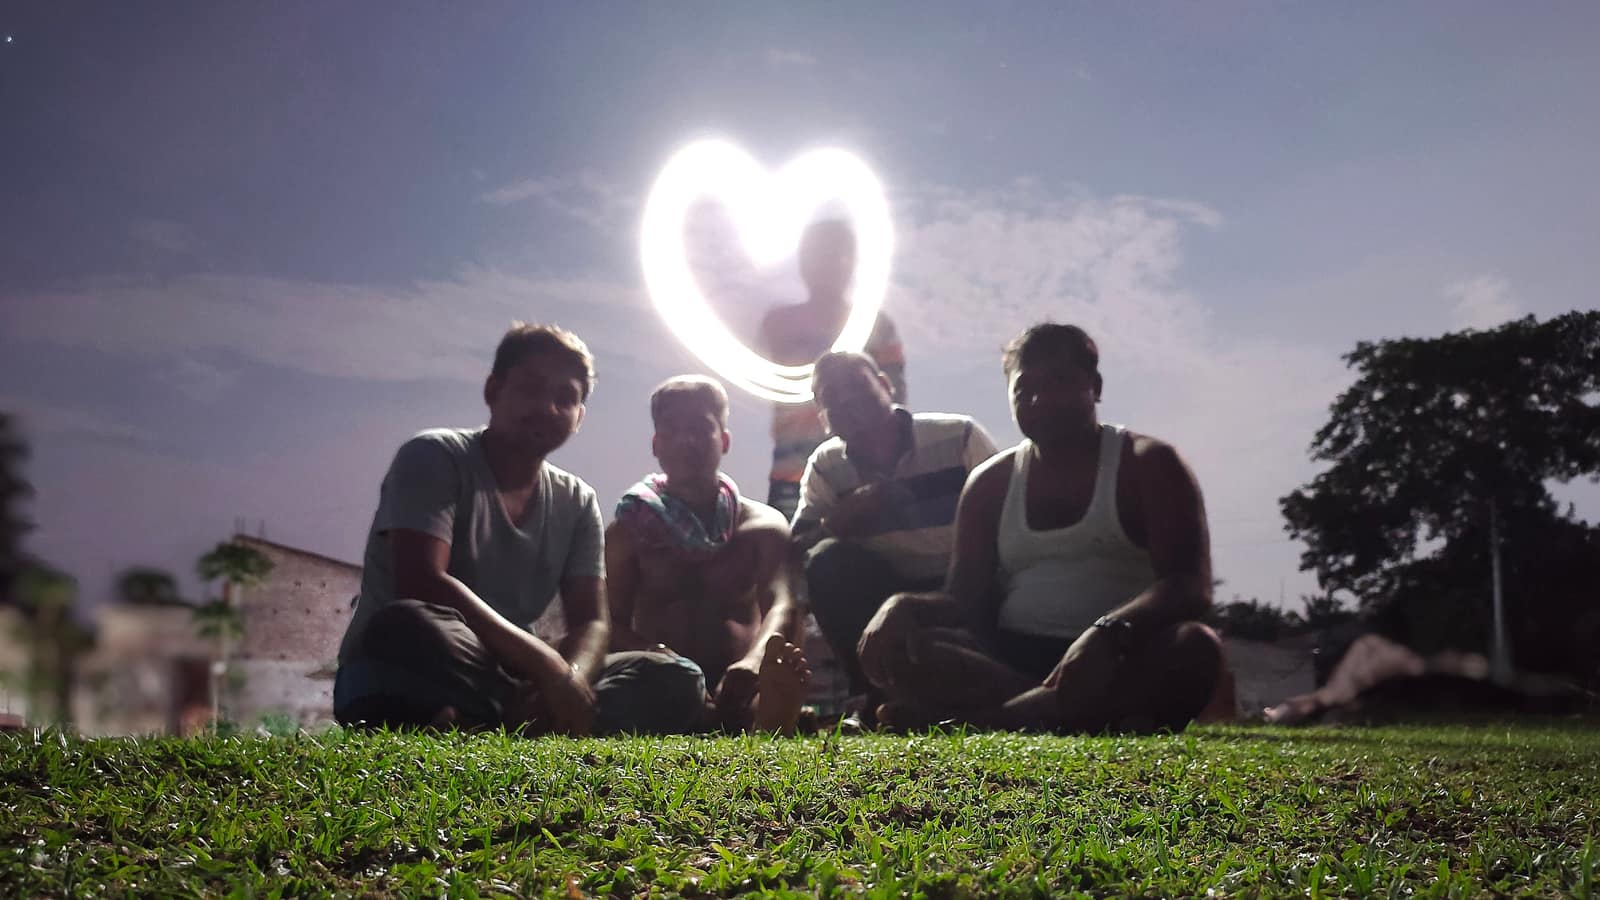

Phone cameras get a lot of help from software, and most of that help happens in the first second after you tap the shutter. The remaining gap between a snapshot and a good photograph is almost entirely about what you did in the three seconds before.
Here are twelve small habits that make a disproportionate difference, in roughly the order they matter.
1. Lock focus and exposure before you shoot
Tap your subject on the screen until a small square appears with a little sun or padlock. That stops the phone from refocusing when you move. Then slide the exposure indicator up or down with a finger. Most of what looks like a shaky phone camera is actually the exposure drifting mid-shot.
2. Use the main lens unless you have a real reason not to
On almost every phone the main (1×) lens has the biggest sensor, the widest aperture and the best low-light performance. The ultra-wide and the long telephoto are useful for specific shots, but their image quality is noticeably worse, especially indoors. If in doubt, step closer with the main lens rather than zoom.
3. Clean the glass
A pocket smudge is the single largest source of hazy, low-contrast phone photos. Breathe on the lens, wipe it on a cotton sleeve, done. Do it every time you take the phone out to shoot.
4. Turn off HDR for high-contrast fast movement
HDR works by combining several frames; if the subject moves between them, you get a ghost. For running children, dogs, cyclists and anything in a wind, switch HDR off or to “auto” and rely on the main exposure instead.
5. Use the grid
Settings → Camera → Grid. Beyond the rule of thirds, the grid helps you keep a horizon level, which matters more than most people think. A one-degree tilt in a wide landscape is visible from across the room.
6. Learn where the volume button lives
On most phones the volume-up button fires the shutter. That lets you hold the phone in two hands like a camera, which is much steadier than tapping the screen. In colder weather it also works through thin gloves.
7. Burst for anything moving
Hold the shutter button to shoot a burst. Phones are extremely fast at this now, and you can pick the frame in which the dog has all four paws off the ground, the toddler’s eyes are open and the pigeon has not yet left the pavement. The storage cost of binning twenty duds is nothing.
8. Portrait mode has a minimum distance
If the frame flashes an error or the blur looks obviously painted on, you are too close. Step back half a metre and try again. Portrait mode also struggles with hair, wire-rim glasses and leaves; for those, shoot normal mode and let the actual lens do the work.
9. Night mode needs you to stand still
Night mode captures two or three seconds of light. Brace your elbows against your ribs, exhale, and keep the phone still until the countdown finishes. If there is any ledge, railing or bollard nearby, use it. A clear phone photo at ten o’clock at night is almost always a phone resting on something.
10. Shoot slightly wide and crop later
Resist the urge to fill the frame in-camera. Phones have lots of resolution; cropping a 48-megapixel photo to a tighter composition rarely hurts. Shooting wide and trimming later also lets you straighten a horizon without losing the corners.
11. RAW only when you are going to edit
If your phone has a “RAW” or “ProRAW” option, treat it as a serious choice. A RAW file is larger, flatter and useless straight out of the camera; it needs you to sit down with it afterwards. Only turn it on when you know you will edit. Our Snapseed walkthrough uses JPEG, which is the right default for most phones.
12. Back everything up before the trip, not after
The two most common ways to lose photos are a lost phone and a corrupt upload. Turn on cloud backup before you leave the house, confirm the last photo has synced, then go. If you shoot in a place with no signal, plug the phone in the moment you are home, before touching anything else. Photos you never look at usually survive; the ones you actually like are oddly fragile.
One more, for good measure
Learn where your phone keeps the last three days of photos. On iPhone the Albums tab has a “Recents” folder; on most Android phones the Gallery sorts by date, and swiping up on a photo in Google Photos shows the time and place it was taken. Before you go to bed, scroll back through the day and star the four or five pictures you actually like. A phone that quietly accumulates ten thousand unexamined frames teaches you nothing. A phone with a small weekly shortlist teaches you what you kept looking at, which is the start of a style.
What to ignore
You do not need a clip-on lens, a ring light, an app that fakes film grain, or a gimbal unless you are shooting video for a living. Most of those accessories replace a habit with a prop. The phone you own already has a bigger sensor, a faster processor and better software than the professional DSLR of fifteen years ago. The limiting factor is almost always the photographer. For another ten minutes with that limit, read the golden-hour piece.