Aperture, shutter speed and ISO, without the jargon
Three dials run almost every camera made. Once you know what each one borrows from the others, you can leave automatic mode behind for good.

Every camera in the world, from a phone to a top-end mirrorless body, controls the light reaching the sensor with three settings. Change one and the picture changes; change any two together and you can keep the brightness the same while changing the look. Learn the three and you have done 80 per cent of the work of leaving automatic mode behind.
The three are aperture, shutter speed and ISO. They are often drawn as a triangle, and while the triangle is a bit of a cliche, the relationships are real.
Aperture: how wide the lens opens
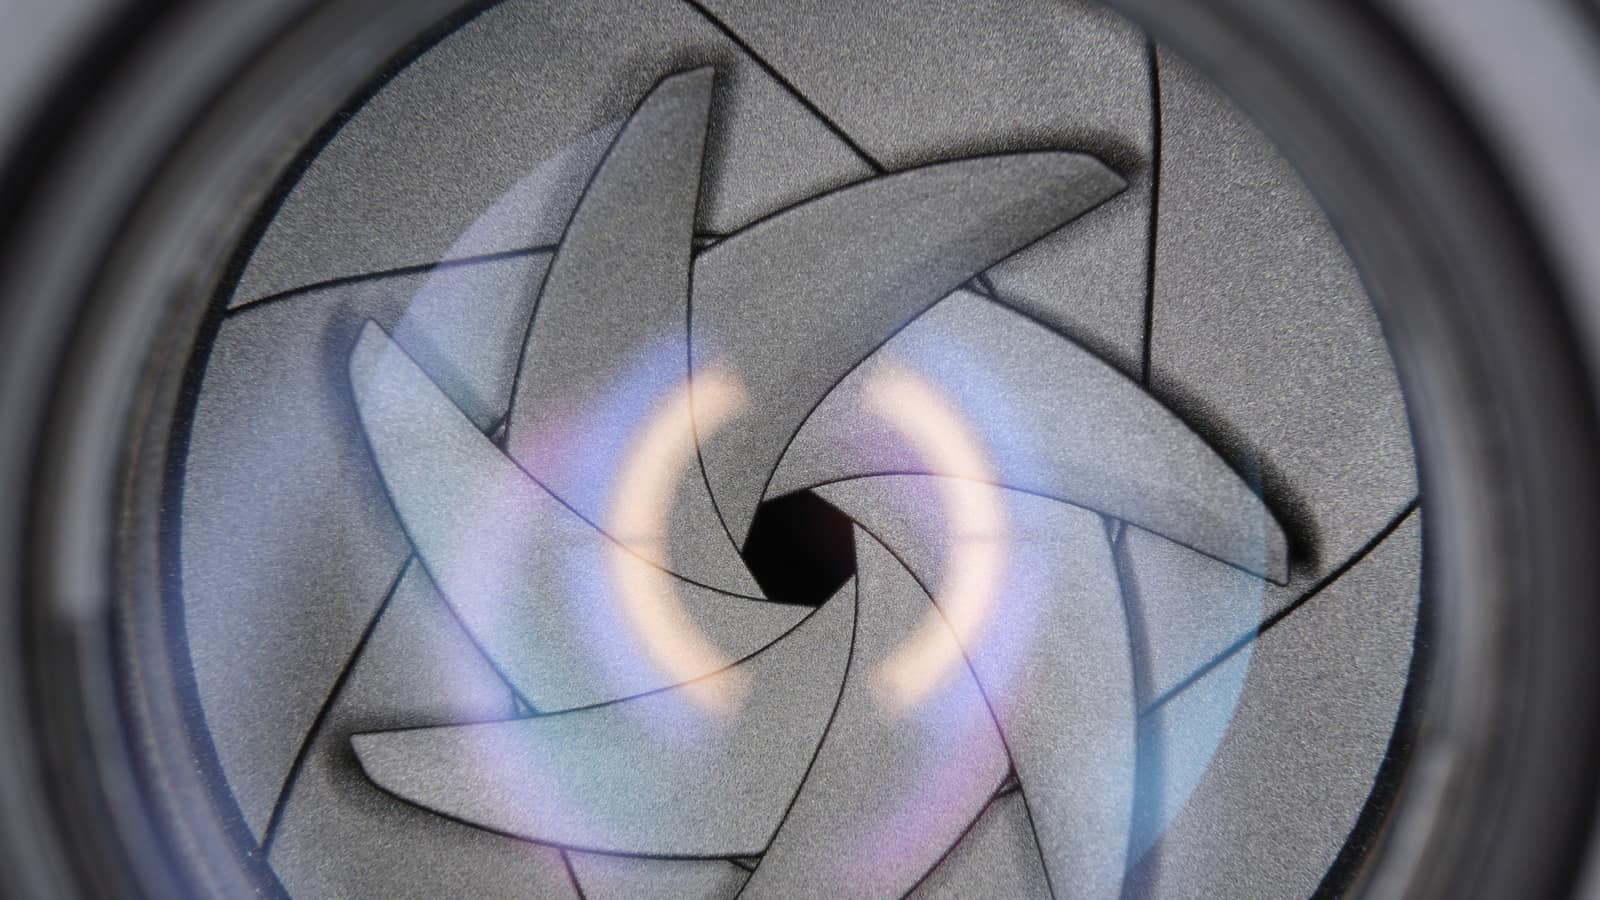
Aperture is a ring of blades inside the lens that opens and closes like an iris. It is measured in f-numbers: f/1.8, f/2.8, f/4, f/5.6, f/8, f/11, f/16. The smaller the number, the wider the opening, and the more light gets through. The jump from one standard number to the next doubles or halves the light; the Wikipedia page has the exact maths if you are the kind of person who wants it.
Aperture also changes depth of field: how much of the scene, front to back, is in focus. A wide aperture (f/1.8) gives you a thin slice of focus and a soft background. A narrow aperture (f/11) gives you everything in focus from your feet to the hills.
Use wide apertures (f/1.8 to f/2.8) for portraits and low light. Use narrow ones (f/8 to f/11) for landscapes and group shots.
Shutter speed: how long the sensor is exposed
Shutter speed is measured in seconds or, more often, fractions: 1/30 s, 1/125 s, 1/500 s, 1/2000 s. The faster the shutter, the less light reaches the sensor; faster shutters also freeze movement.
The rough handheld rule is one over the lens length: a 50 mm lens wants at least 1/50 s, a 200 mm lens wants 1/200 s. Below that you risk camera shake. Image stabilisation, which most modern cameras have, lets you cheat by two or three stops; you can hand-hold 1/15 s on a stabilised 50 mm lens and still get sharp shots most of the time.
Use fast shutters (1/500 s and up) for sport and children. Use slow shutters (1/30 s and down) on a tripod for smoothed water, blurred traffic lights and anything where motion is the subject.
ISO: how sensitive the sensor is
ISO is a number that tells the sensor how much to amplify the light it already has. ISO 100 is the base on most modern cameras. ISO 1600 is four stops brighter and much noisier. ISO 25,600 looks like a magazine printed on sandpaper.
ISO is the setting you reach for last. Open the aperture as wide as it will go, lower the shutter as slow as your hands or your subject allow, and only then raise ISO to make up the difference. Modern cameras handle ISO 3200 or 6400 quite well; photos that look terrible on a phone screen at ISO 6400 are often fine printed at A4.
Stops: the shared currency
Each of the three settings is measured in stops, and a stop is simply “twice as much light”. Going from f/4 to f/2.8 is one stop more light. Going from 1/125 s to 1/60 s is one stop more light. Going from ISO 200 to ISO 400 is one stop more light. Once you see that the three settings speak the same language, you can trade them: open the aperture one stop and shorten the shutter one stop, and the picture stays the same brightness but with less depth of field.
Three worked examples
Portrait on a cloudy afternoon
Light is flat and gentle, which is good news. You want the background soft so the face stands out. Set aperture to f/2.8, shutter to 1/250 s to freeze small movements, and let ISO sit where it needs to – probably ISO 200 or 400 on an overcast day. If the face looks too dark, raise the shutter dial by a third of a stop in “exposure compensation”.
Waterfall on a grey morning
You want the water to blur into a white sheet. That needs a shutter of 1 to 4 seconds, which means a tripod and probably a cheap neutral-density filter to cut the light. Set aperture to f/11 so everything from the rocks to the far trees is sharp, ISO 100 for cleanliness, shutter as long as the filter and the light allow.
Dinner indoors, no flash
The hardest case. Aperture wide open at f/1.8 or f/2.8 if your lens has it, shutter at 1/60 s, ISO at whatever makes the exposure right, often ISO 1600 or 3200. Accept a little noise; a slightly grainy photograph of your daughter laughing is a photograph you will keep. A perfectly clean picture of an empty chair is not.
Which dial to turn first
Most cameras have an “aperture-priority” mode, usually marked A or Av, where you choose the aperture and the camera sets the shutter. That is the simplest way to learn: pick the aperture by the look you want, let the camera handle the rest, and nudge ISO up when the shutter speed gets uncomfortably slow. From there, graduate to full manual when the light is tricky and the camera keeps getting it wrong.
Everything else – metering modes, focus modes, drive modes – is detail. Learn the three dials, and most of the pictures you have been trying to make will start to arrive. If you are still looking for the camera to arrive first, our buying guide is next door; for free upgrades, the pieces on light and composition make more difference than any lens.